Marantz 2226B Repair: Intermittent Speaker and Channel Cutouts
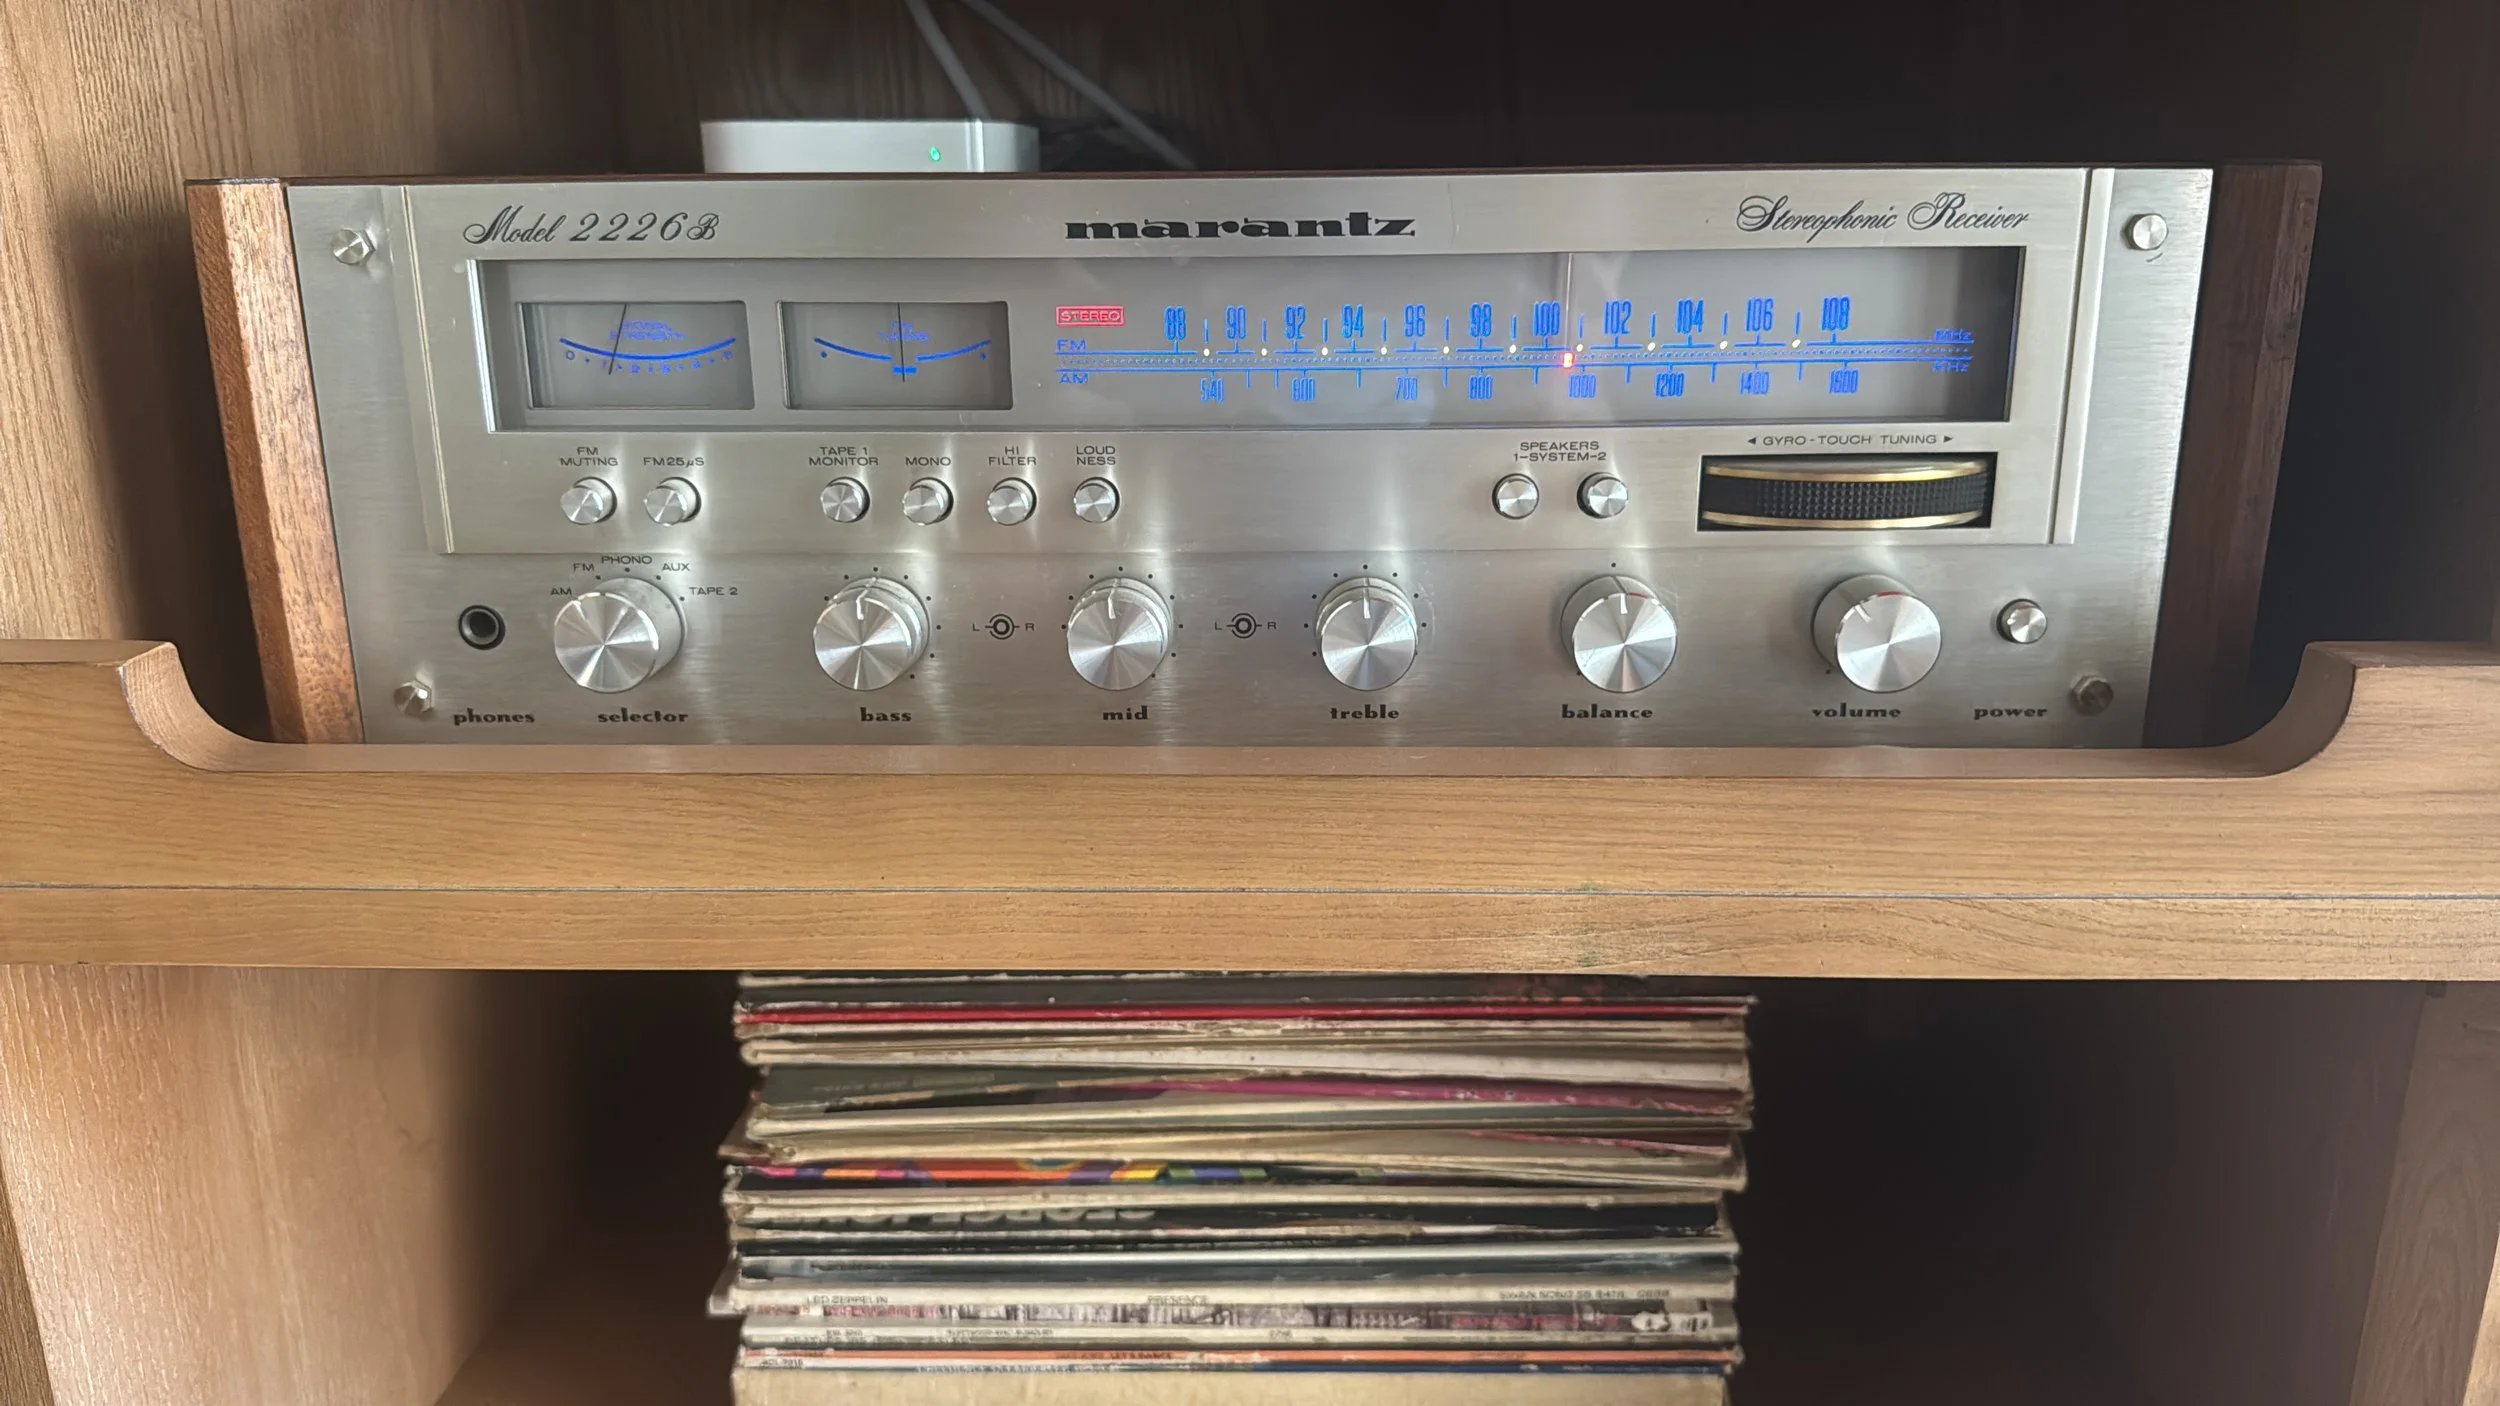
Customer supplied photo of this masterpiece living in its home.
The customer brought in this Marantz 2226B because one channel would cut out intermittently while music was playing. The audio dropout occurred on every source, and repeatedly operating the front-panel buttons would sometimes bring the sound back. Problems described as “one channel cuts out,” “speaker cuts in and out,” or even “Marantz 2226B no sound” can have several causes, but these symptoms pointed toward an oxidized contact somewhere in the shared signal path.
The Marantz 2226B is a desirable and collectible late-1970s receiver, known for its blue illuminated dial, brushed-aluminum faceplate, wood cabinet, and classic Marantz styling.
Diagnosing the Channel Dropout
Because the fault affected every input source, the source components and individual input circuitry were unlikely to be responsible. Operating the front-panel controls could temporarily restore the sound, suggesting an oxidized contact in the shared signal path. Testing and manipulating the PRE OUT and MAIN IN sockets isolated the intermittent channel dropout to their internal switching contacts.
How the PRE OUT and MAIN IN Sockets Work
Many vintage receivers use removable metal jumpers to connect the preamplifier output to the power-amplifier input. The Marantz 2226B uses internally switched PRE OUT and MAIN IN sockets instead. When no external equipment is connected, contacts inside the sockets complete the signal path. Over time, oxidation on those contacts can interrupt one or both channels.
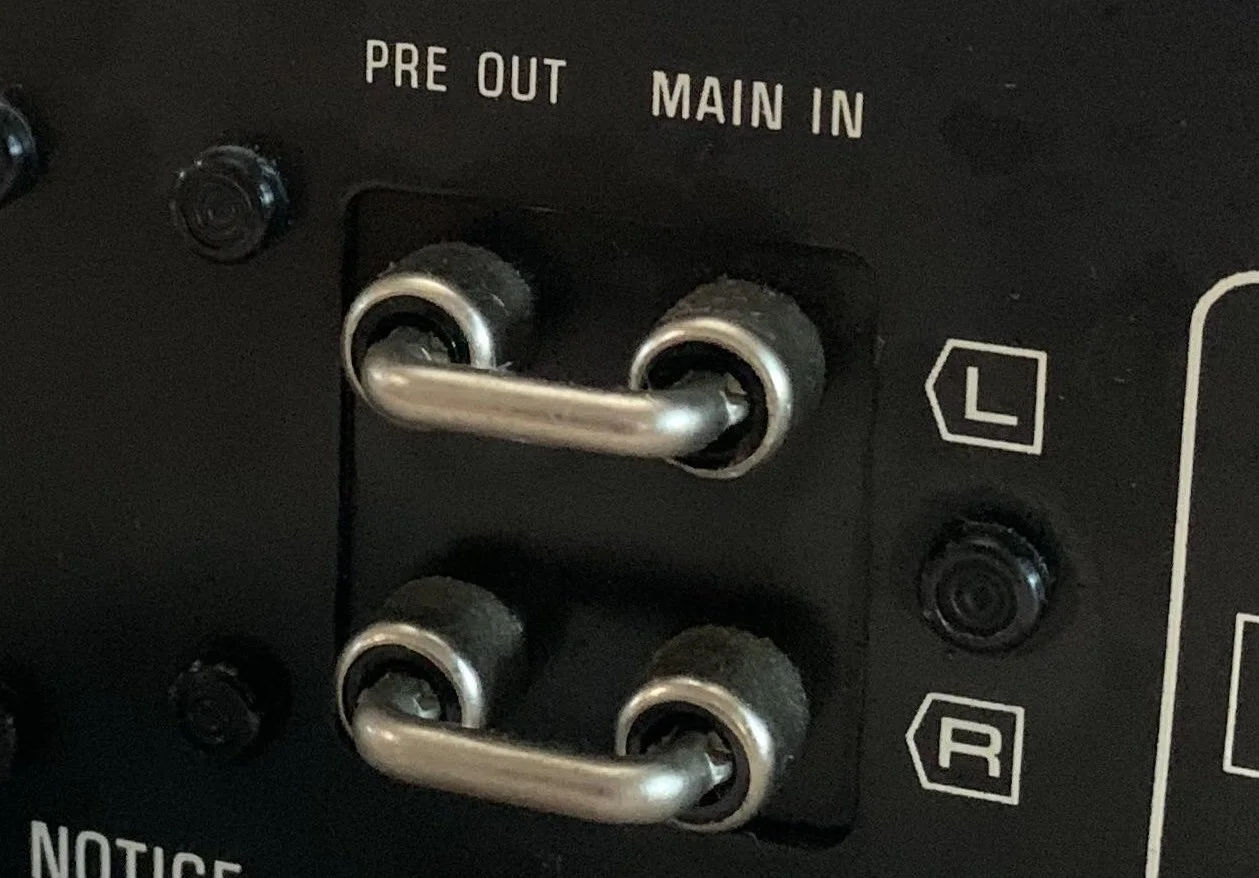
Example from another receiver: removable jumpers connecting PRE OUT to MAIN IN. The Marantz 2226B uses switching contacts inside its RCA sockets instead.
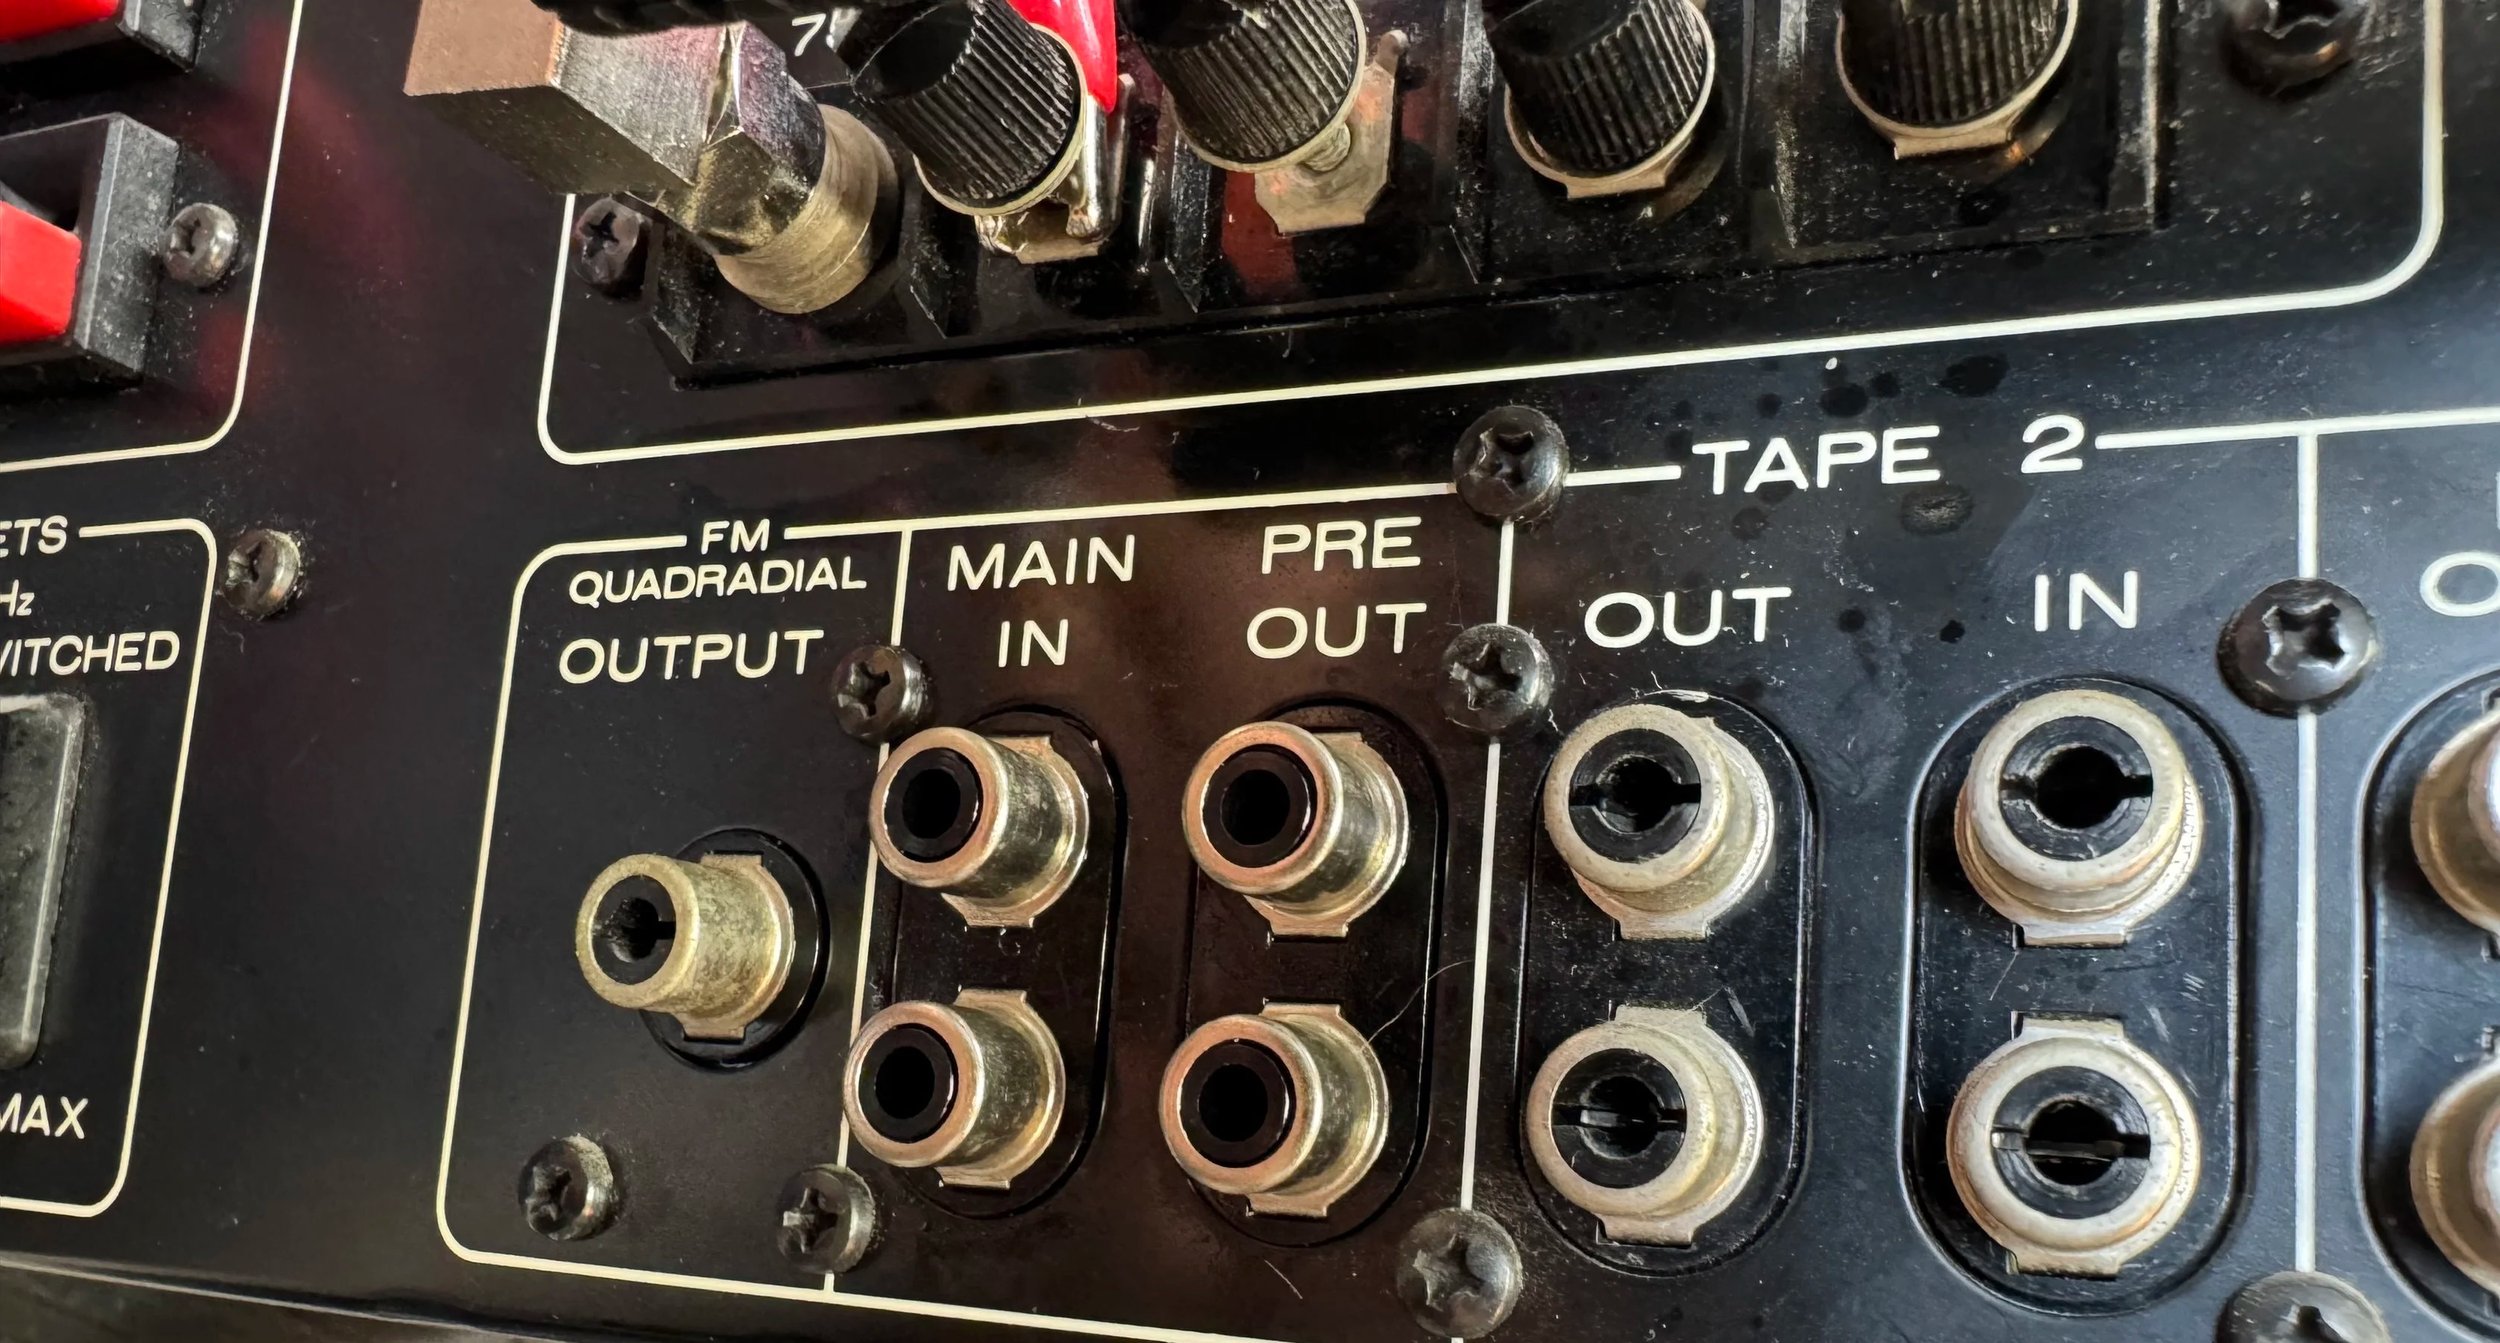
The rear panel of the Marantz 2226B showing the PRE OUT and MAIN IN sockets. Unlike the example above, this receiver does not use removable metal jumpers.
The fault was traced to oxidized switching contacts inside the PRE OUT and MAIN IN RCA sockets.
Many receivers from the late 70s will over time develop oxidation, typically experienced by scratchy controls such as the volume or tone controls, along with switches and buttons. It’s usually a simple job to clean them, assuming you are comfortable working inside the equipment with the covers off. DeoxIT is the contact cleaner I typically use.
Safety note: Unplug the receiver before removing its covers or applying contact cleaner. Vintage audio equipment can contain hazardous voltages, and some capacitors may retain a charge after the unit is disconnected. Do not work inside the receiver unless you understand the risks and have the appropriate experience.
As I mentioned, the RCA connectors have internal switching contacts that perform the role of the solid links, and they would automatically switch to any external equipment connected to them. Because the switching contacts are enclosed inside the sockets, they are more difficult to clean than exposed switches and potentiometers.
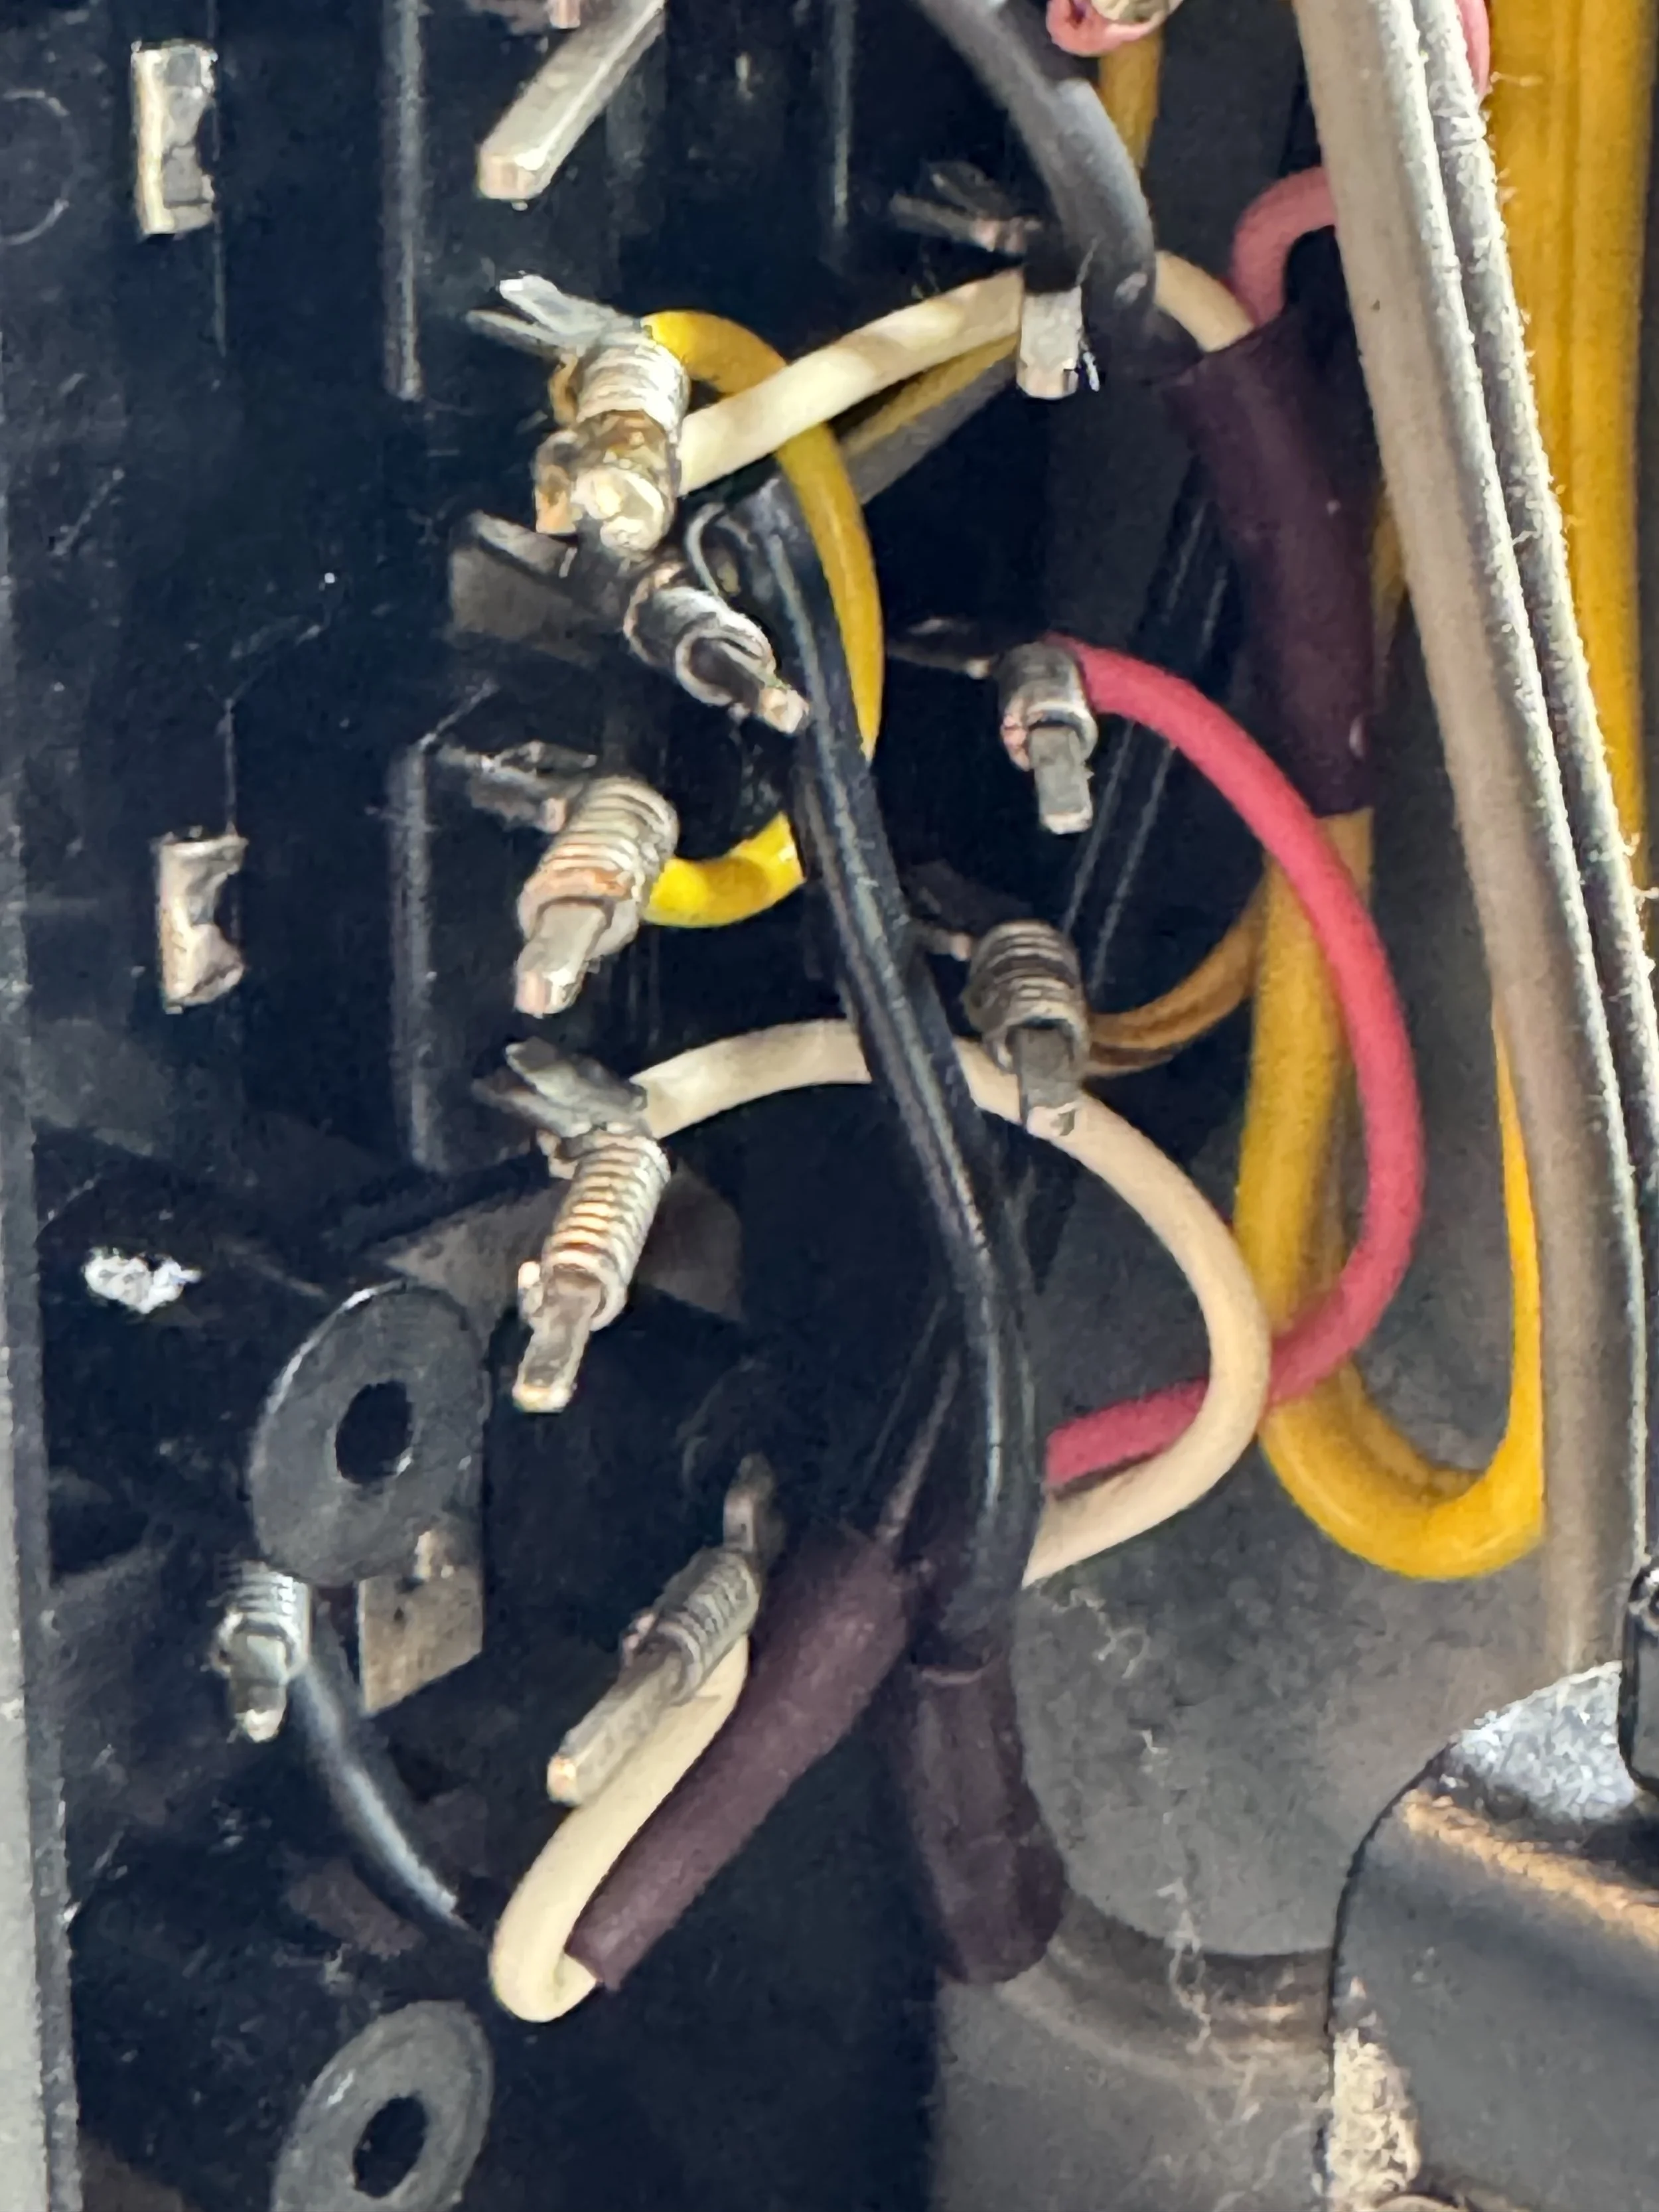
I know it’s hard to tell, but these sockets are sealed inside.
Cleaning the PRE OUT and MAIN IN Contacts
The cleaning technique is quite basic. Place absorbent material beneath and around the sockets to catch any runoff while the cleaner is applied. Use only a small, controlled amount, then insert and remove a clean RCA plug repeatedly—typically 20 to 50 times—to work the cleaner across the internal contacts. Avoid flooding nearby components.
I also use Q-Tips (cotton buds) and insert and rotate them to aid cleaning. Be careful though to use tightly wound, firm-tipped swabs, or you’ll end up with cotton fibers inside the sockets and have fun picking it out. Sometimes it takes patience and determination, but it usually works. I say usually as I just had a Pioneer SX1980 with similar issue, but that receiver uses sockets that suffer from silver degradation that cleaning will not fix.
Cleaning the Switches and Controls
Now, while you have the covers off it would be a good time to clean all switches and potentiometers. Use the same tissues and spray each component. For switches operate them repeatedly about 50 times each. For potentiometers, rotate them fully back and forth for the same 50 or so times.
My habit is never to reinstall the covers until the receiver has been fully tested. Experience has taught me that putting everything back together too early is often the quickest way to discover that more work is needed.
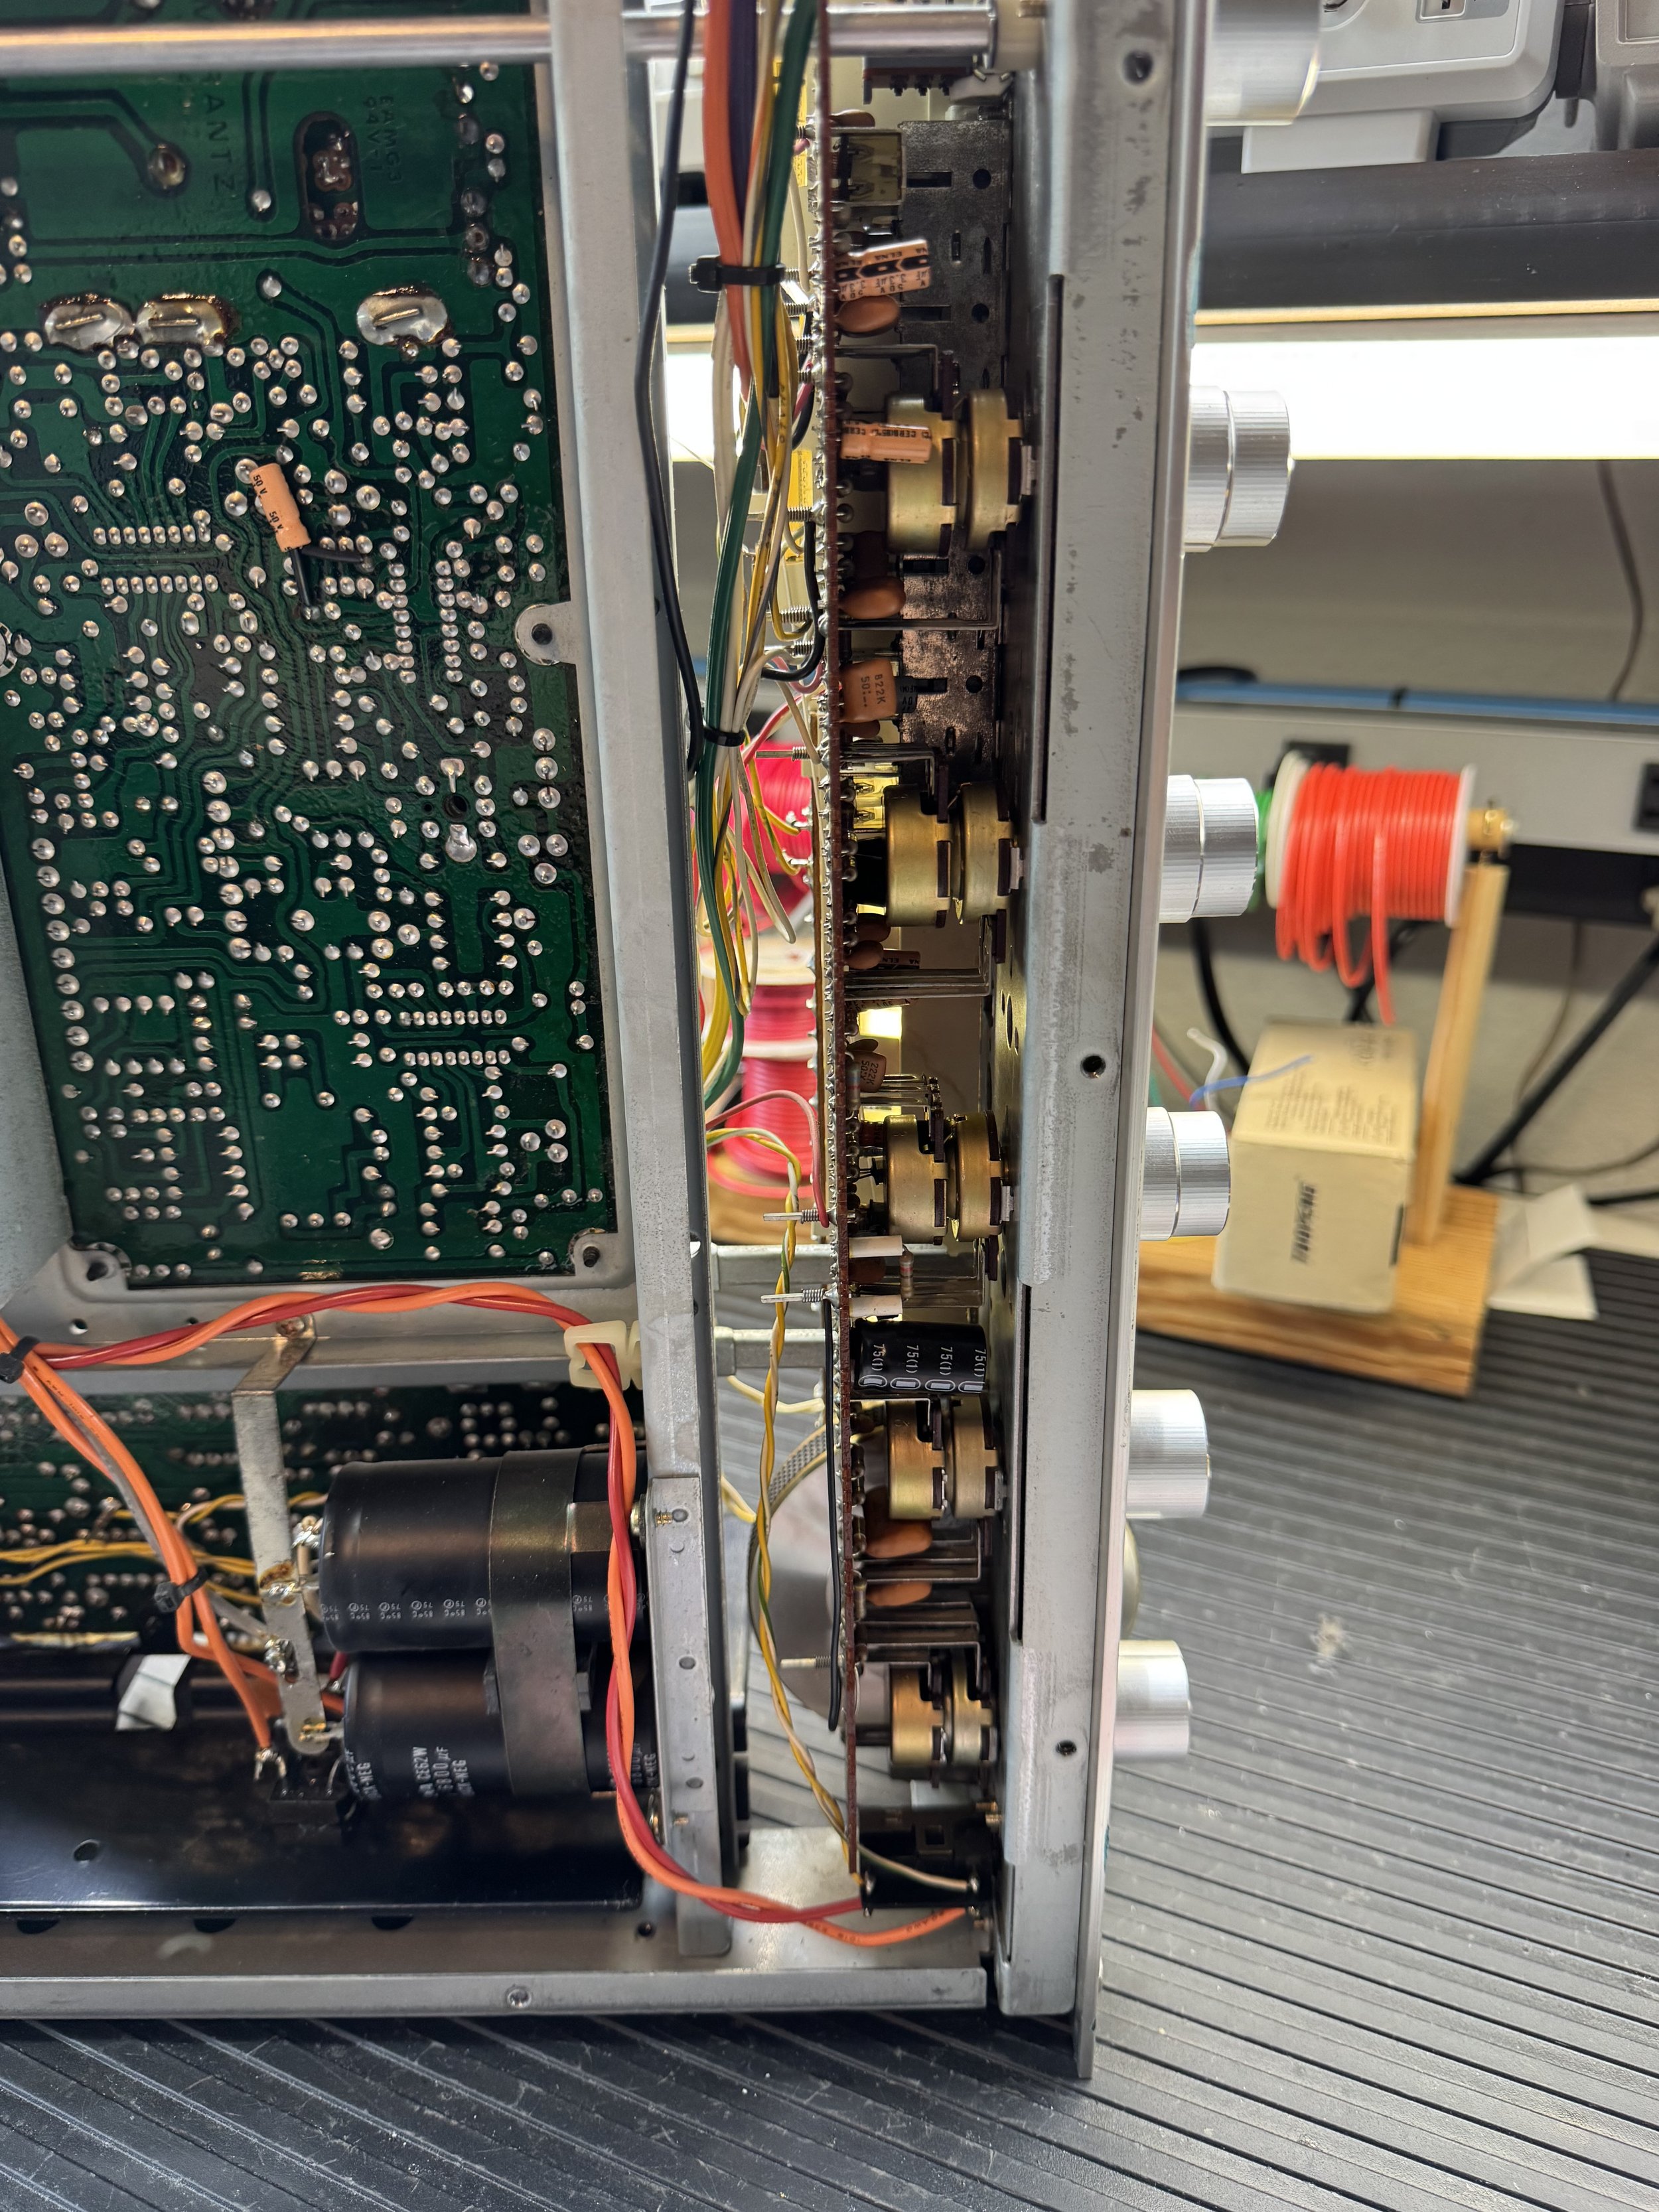
Here you can see the potentiometers from the underside of the receiver. If you look closely you will see the sliding switches tucked away between them. The photo below gives a better view of the switches.
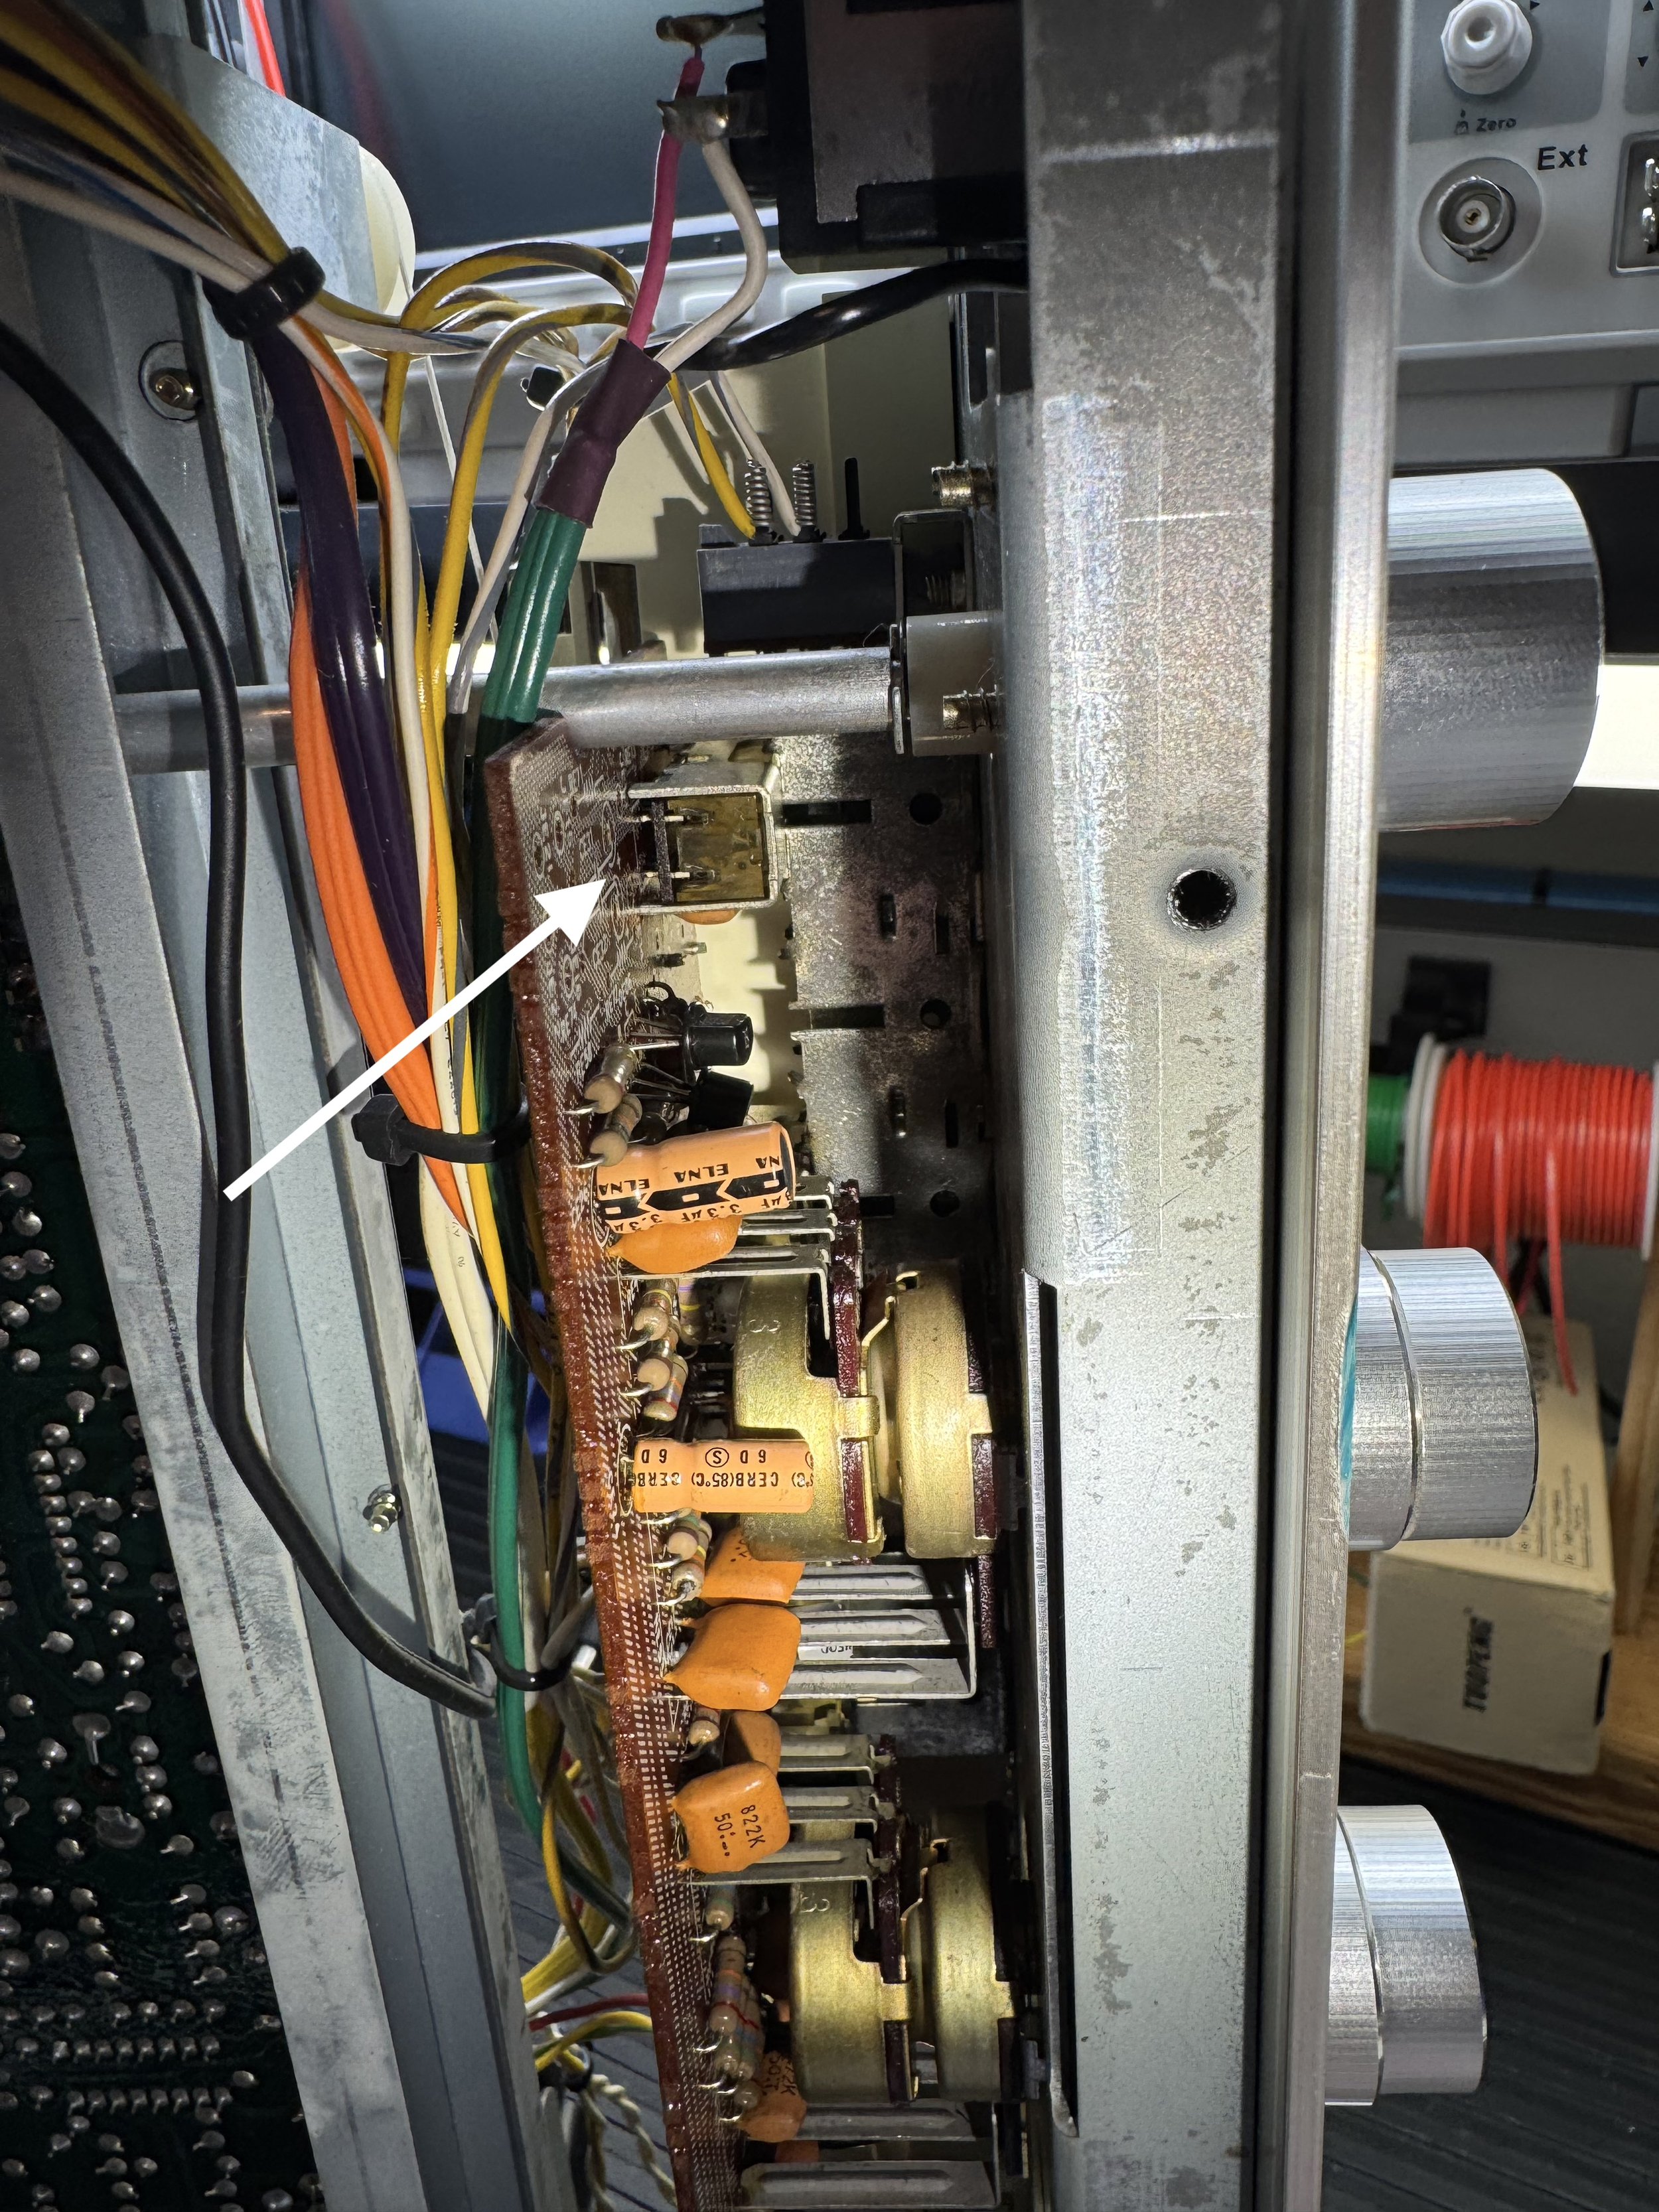
Here you can clearly see what the sliding switches look like.
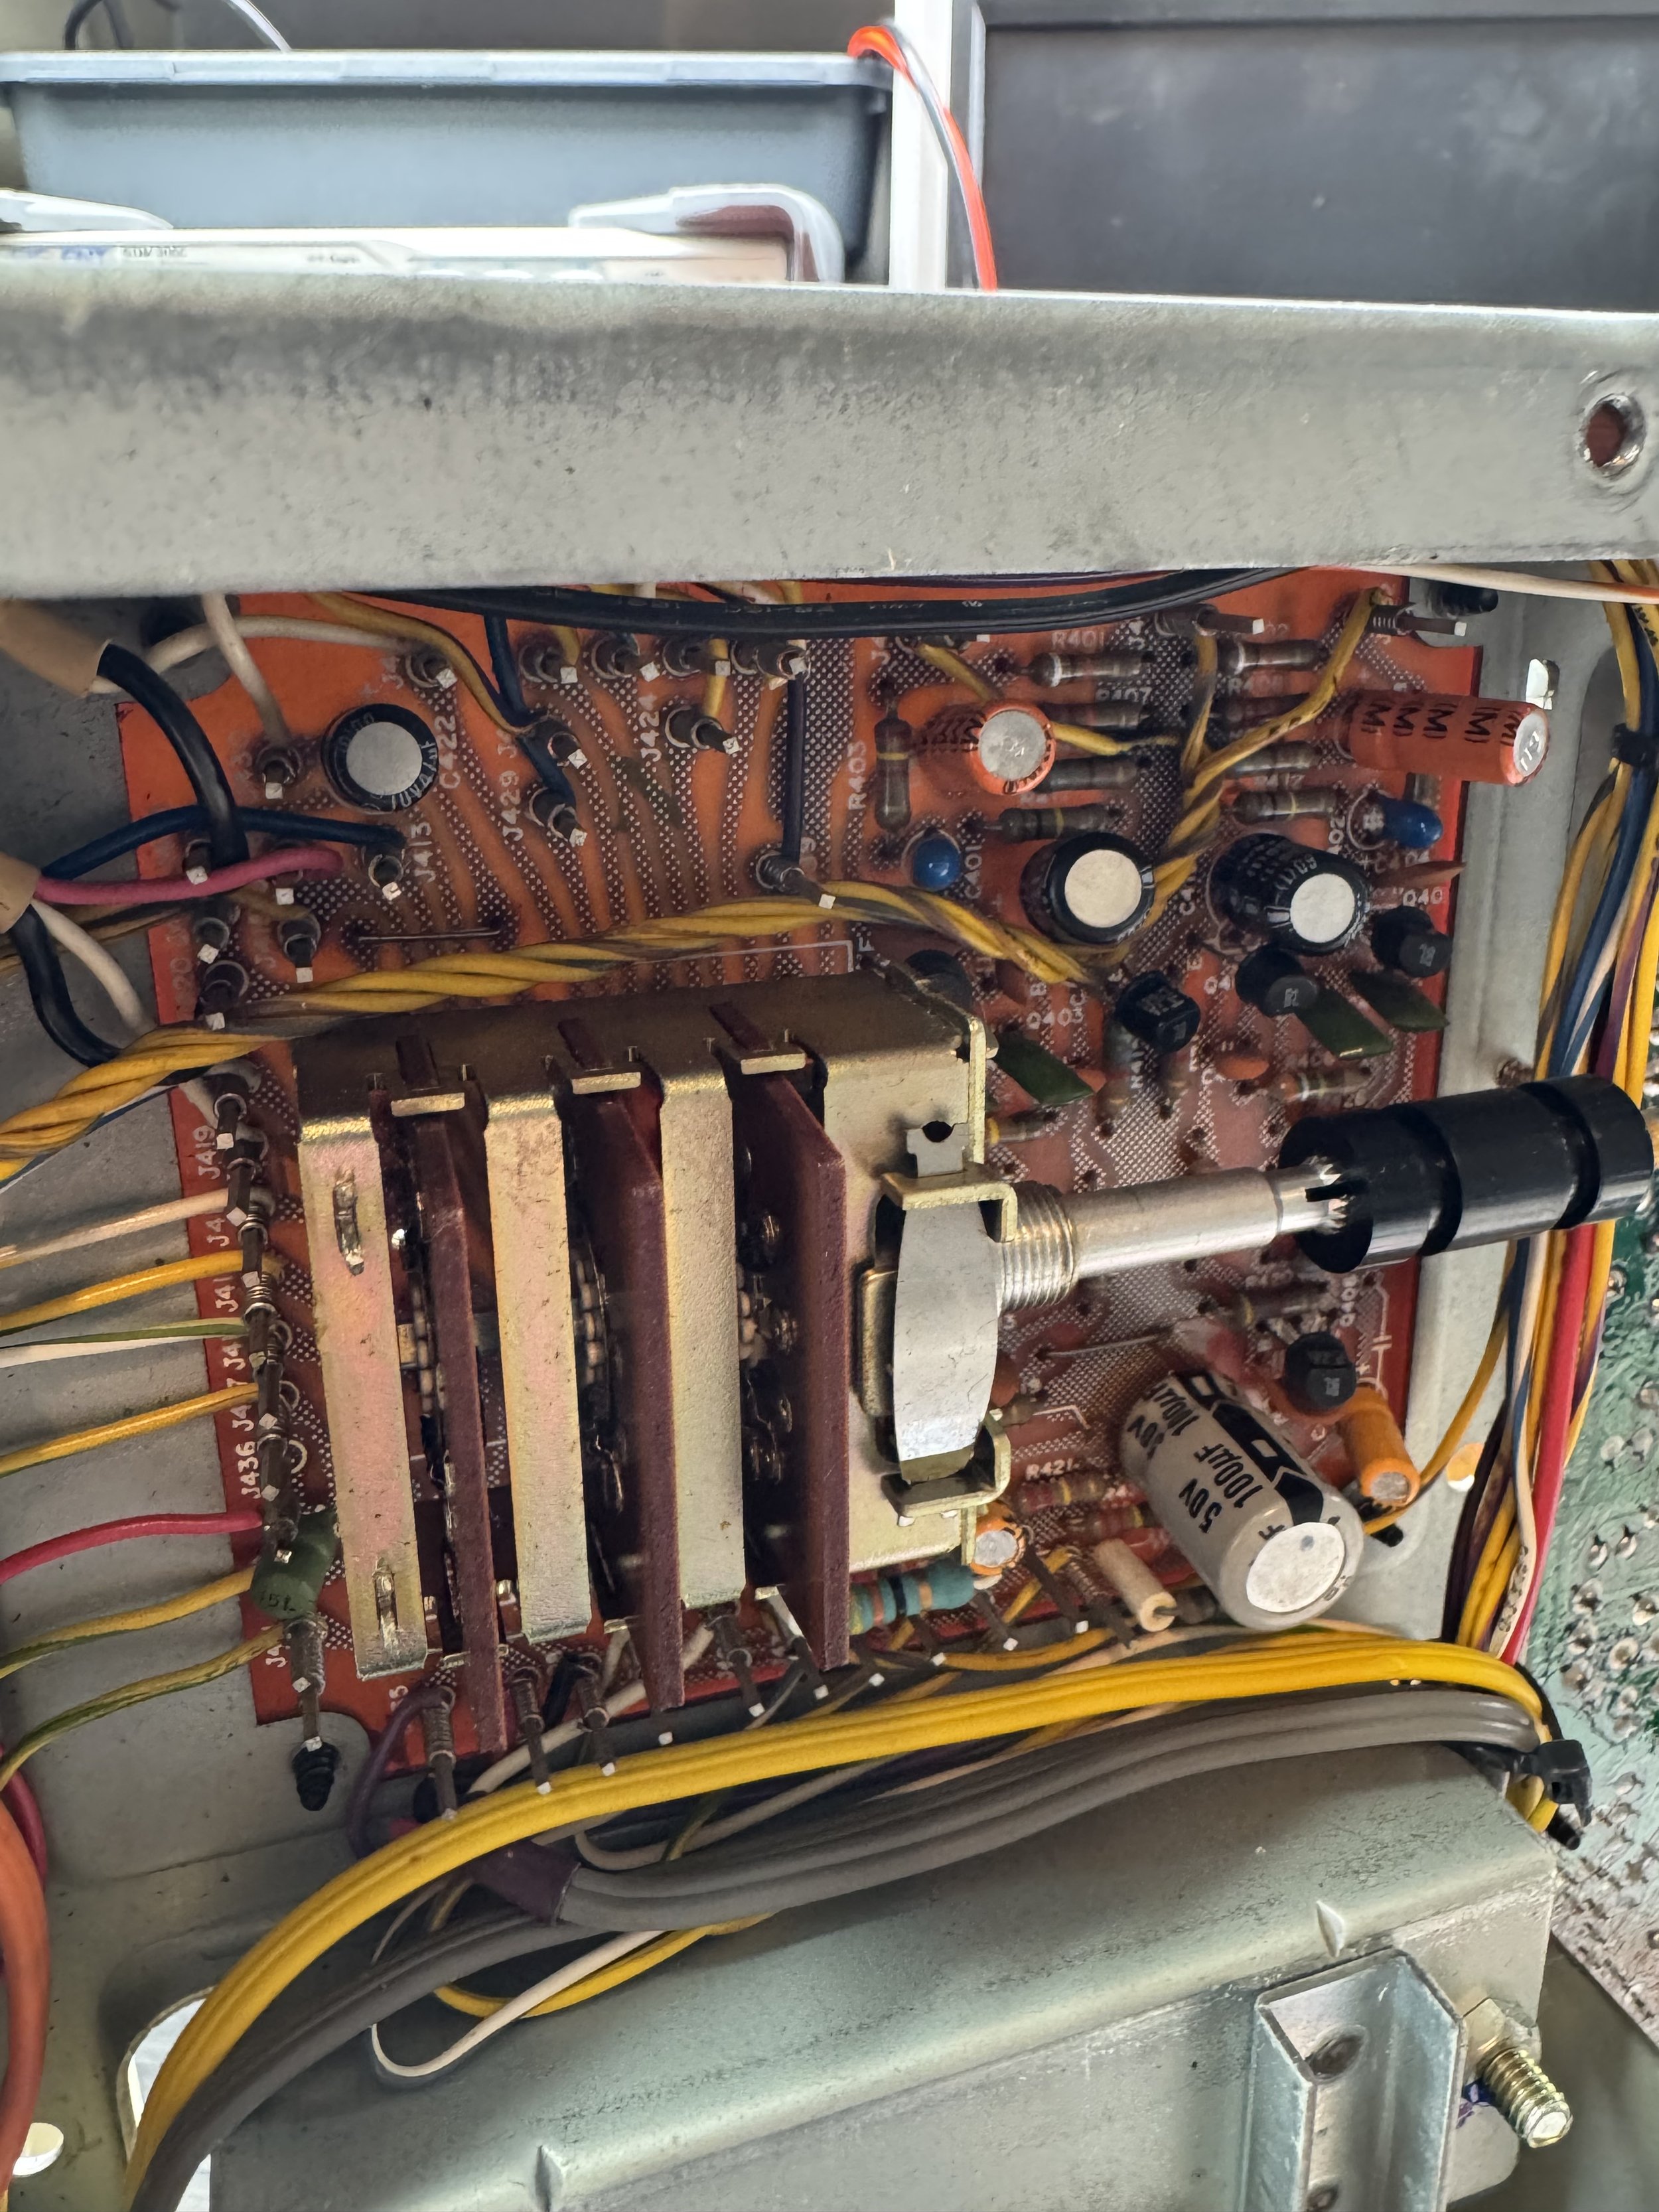
This is the main source-selector switch, located toward the rear of the receiver and connected to the front-panel control by a shaft. Rotary switches like this contain numerous contacts and are common sources of noise, intermittent audio, and channel dropouts. Place absorbent material around the switch, apply a small amount of DeoxIT, and rotate the selector repeatedly through every position.
Testing and Result
With the sockets, switches, and potentiometers cleaned, the receiver was tested again using multiple inputs. Both channels remained stable, and the intermittent speaker cutout did not return. I continued testing it over the next few days while enjoying its distinctive 1970s sound.
This was not a dramatic component failure, but it is a good example of how oxidation can create frustrating and unpredictable faults in vintage audio equipment. Careful diagnosis matters: replacing parts would not have solved a poor mechanical contact in the signal path.
The Marantz 2226B could then return home, where this highly collectible receiver belongs—playing music rather than waiting on a repair bench.